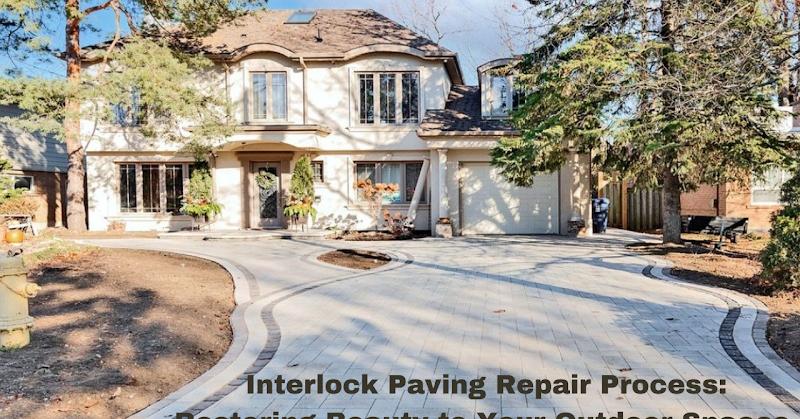
Interlocking pavers have become a popular choice for driveways, patios, and walkways due to their durability, versatility, and aesthetic appeal. Over time, however, these beautiful, paved surfaces may start to show signs of wear and tear. Cracks, uneven surfaces, and sunken areas can detract from the overall charm of your outdoor space. The good news is that interlock paving repair is a viable solution to restore your paved surfaces to their former glory. In this comprehensive guide, we’ll walk you through the interlock paving repair process, from assessing the damage to completing the restoration.
Table of Contents
- Understanding Interlock Paving
- Common Causes of Paving Damage
- Assessing the Damage
- Tools and Materials You’ll Need
- Safety Precautions
- Repairing Small Cracks
- Fixing Sunken Areas
- Replacing Damaged Pavers
- Resealing for Protection
- Cleaning and Maintenance
- Hiring a Professional vs. DIY
- Cost of Interlock Paving Repair
- Benefits of Repairing Your Interlock Paving
- Frequently Asked Questions
1. Understanding Interlock Paving
Interlock paving, also known as interlocking concrete pavers, consists of individual units or bricks that fit together like a puzzle, creating a stable and visually appealing surface. These pavers are typically made from concrete, and their design allows for flexibility and easy repair when necessary.
2. Common Causes of Paving Damage
Before diving into the repair process, it’s essential to understand what can lead to interlock paving damage. The most common culprits include:
- Freeze-Thaw Cycles: In cold climates, the expansion and contraction of moisture within the pavers can cause cracking over time.
- Weed and Grass Growth: Overgrown vegetation can dislodge pavers, leading to uneven surfaces.
- Heavy Vehicle Traffic: Frequent use by heavy vehicles can cause sinking and shifting of pavers.
3. Assessing the Damage
The first step in any paving repair project is a thorough assessment. Walk around your paved area and look for:
- Cracks
- Sunken or uneven pavers
- Displaced pavers
- Weeds or grass growth
- Overall deterioration
4. Tools and Materials You’ll Need
Gather the following tools and materials before starting the repair:
- Rubber mallet
- Chisel
- Sand
- Paver adhesive
- Replacement pavers (if needed)
- Safety goggles
- Work gloves
5. Safety Precautions
Always wear safety goggles and work gloves to protect your eyes and hands during the repair process. Ensure the work area is clear of obstacles and take precautions if working on sloped surfaces.
6. Repairing Small Cracks
Small cracks can be repaired with paver adhesive. Clean the crack, apply adhesive, and press the crack closed. Wipe away any excess adhesive.
7. Fixing Sunken Areas
For sunken areas, remove the affected pavers, add sand as a base, and reposition the pavers. Use a rubber mallet to level them with the surrounding surface.
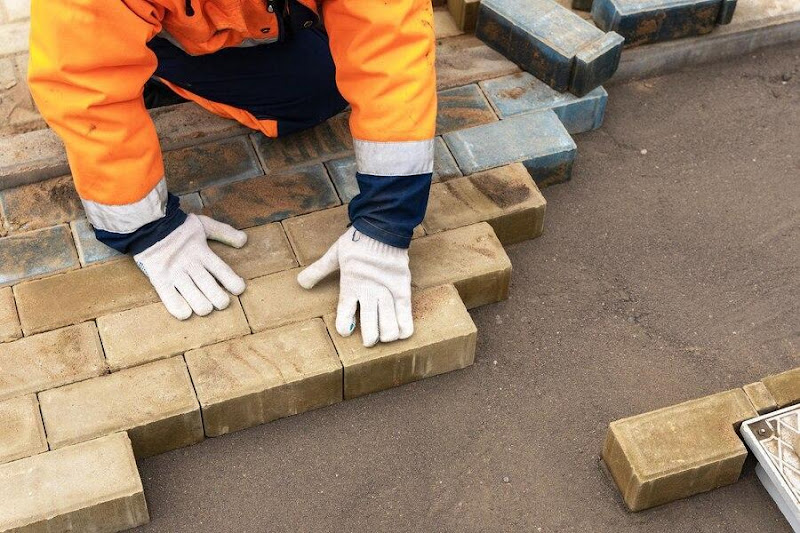
8. Replacing Damaged Pavers
If pavers are damaged beyond repair, carefully remove and replace them with new ones. Ensure the new paver fits snugly in its place.
9. Resealing for Protection
Periodic resealing of your interlock paving can help prevent future damage and maintain its vibrant appearance. Follow the manufacturer’s guidelines for the correct sealer.
10. Cleaning and Maintenance
Regular cleaning and maintenance are vital to prolong the life of your interlock paving. Remove weeds and moss, sweep debris, and wash the surface with a mild detergent as needed.
11. Hiring a Professional vs. DIY
Deciding between DIY and hiring a professional depends on the extent of the damage and your expertise. While minor repairs can be tackled by homeowners, larger or more complex issues may require professional assistance.
12. Cost of Interlock Paving Repair
The cost of repair varies depending on the extent of the damage, the need for replacement pavers, and whether you choose to DIY or hire a professional. Small repairs may be budget-friendly, while extensive restoration can be costlier.
13. Benefits of Repairing Your Interlock Paving
Repairing your interlock paving offers several benefits, including:
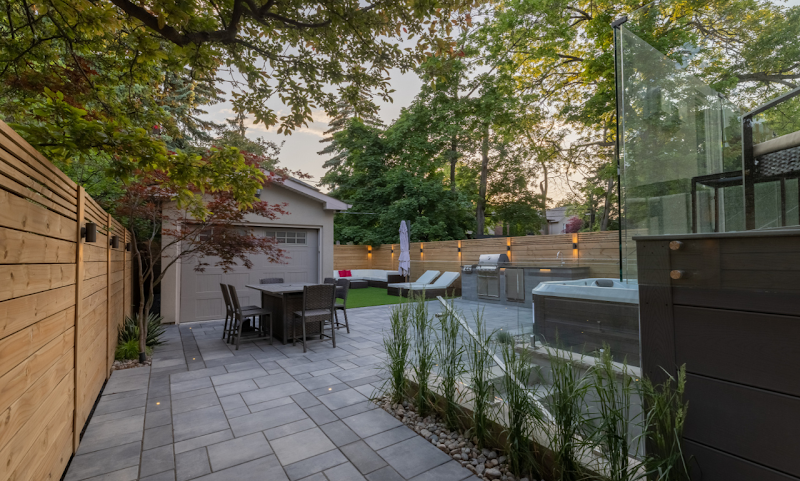
- Restoring the beauty of your outdoor space
- Extending the life of your paving
- Preventing accidents caused by uneven surfaces
- Your home’s curb appeal is essential for making a positive first impression
Conclusion:
The interlock paving repair process is a practical and cost-effective way to maintain the integrity and aesthetic appeal of your outdoor spaces. Whether you choose to tackle the repairs yourself or hire a professional, it’s essential to address any damage promptly to enjoy the long-lasting benefits of your interlock paving.
FAQs
1. How often should I reseal my interlock paving?
Resealing your interlock paving is typically recommended every 2-3 years, but it may vary based on the type of sealer used and the wear and tear your paving experiences.
2. Can I use regular sand for sunken areas, or should I use a specific type?
It’s best to use specialized paver sand designed for this purpose, as it provides better stability and support.
3. Is DIY repair a viable option for large-scale paving damage?
While DIY repairs are feasible for small to moderate damage, extensive damage may require professional intervention for the best results.
4. What’s the expected lifespan of interlock paving?
With proper maintenance and occasional interlocking repairs, interlock paving can last for decades.
5. Can I mix and match replacement pavers if I can’t find the exact match?
While matching pavers are ideal, you can mix and match as long as they are compatible in size and style to maintain the overall look of your paving.